MINI FURNACE
INTRODUCTION
After watching this clip (shown on the right) from the King of Random, I thought it would be a great idea to create my own mini furnace so I could cast objects in metal.
I was also thinking that I could 3D Print an object and use it as a shape base for casting – that way I could print something with good details and cast the (almost) exact item in aluminum or other metals with low melting temperatures!
This should work well as the temperature and the heat energy of the metal when poured into the mold and over the 3D printed object should completely vaporize the 3D Printed piece and replace it with the metal.

GETTING STARTED
In the clip I get the feeling that the King of Random has a lot of stuff just lying around at home. This just isn\’t the case for me… ok… So I have a bit of stuff lying around, but nothing that seemed to be related to this project.
The clip also says the stuff will cost you about $50. Based on this I am packing my bags and moving to the US because apparently things are ALOT cheaper there than in the land down under! My little project set me back over $100… and that was when I got most of the stuff during a clearance sale!
You can get most of the stuff at Bunnings here in Australia, except for the pipe, I had to go to a plumbing store to get one… which is sad paying cash for something I used to make by the thousand in a factory at one time. I also got the plastic bucket in Big-W as it was cheaper, although getting a smaller sized one was still more than the .99c for standard plastic bucket.
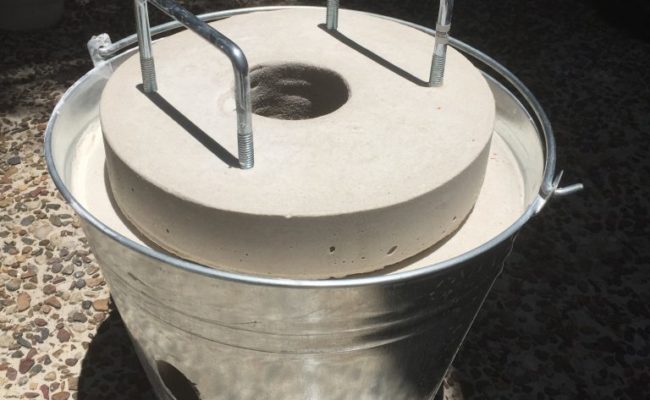
One of the other changes I made was finding square u-bolts, I think they make awesome handles for the lid.
PUTTING IT TOGETHER
Other than the materials mentioned above, to bring this all together I needed some tools. Mostly only trusty drill and a metal hole saw for my drill. I didn\’t actually one of these (that could handle metal) and so I cost me a few extra dollars to buy a small kit… but they did make the job sooo easy, so definitely worth the money.
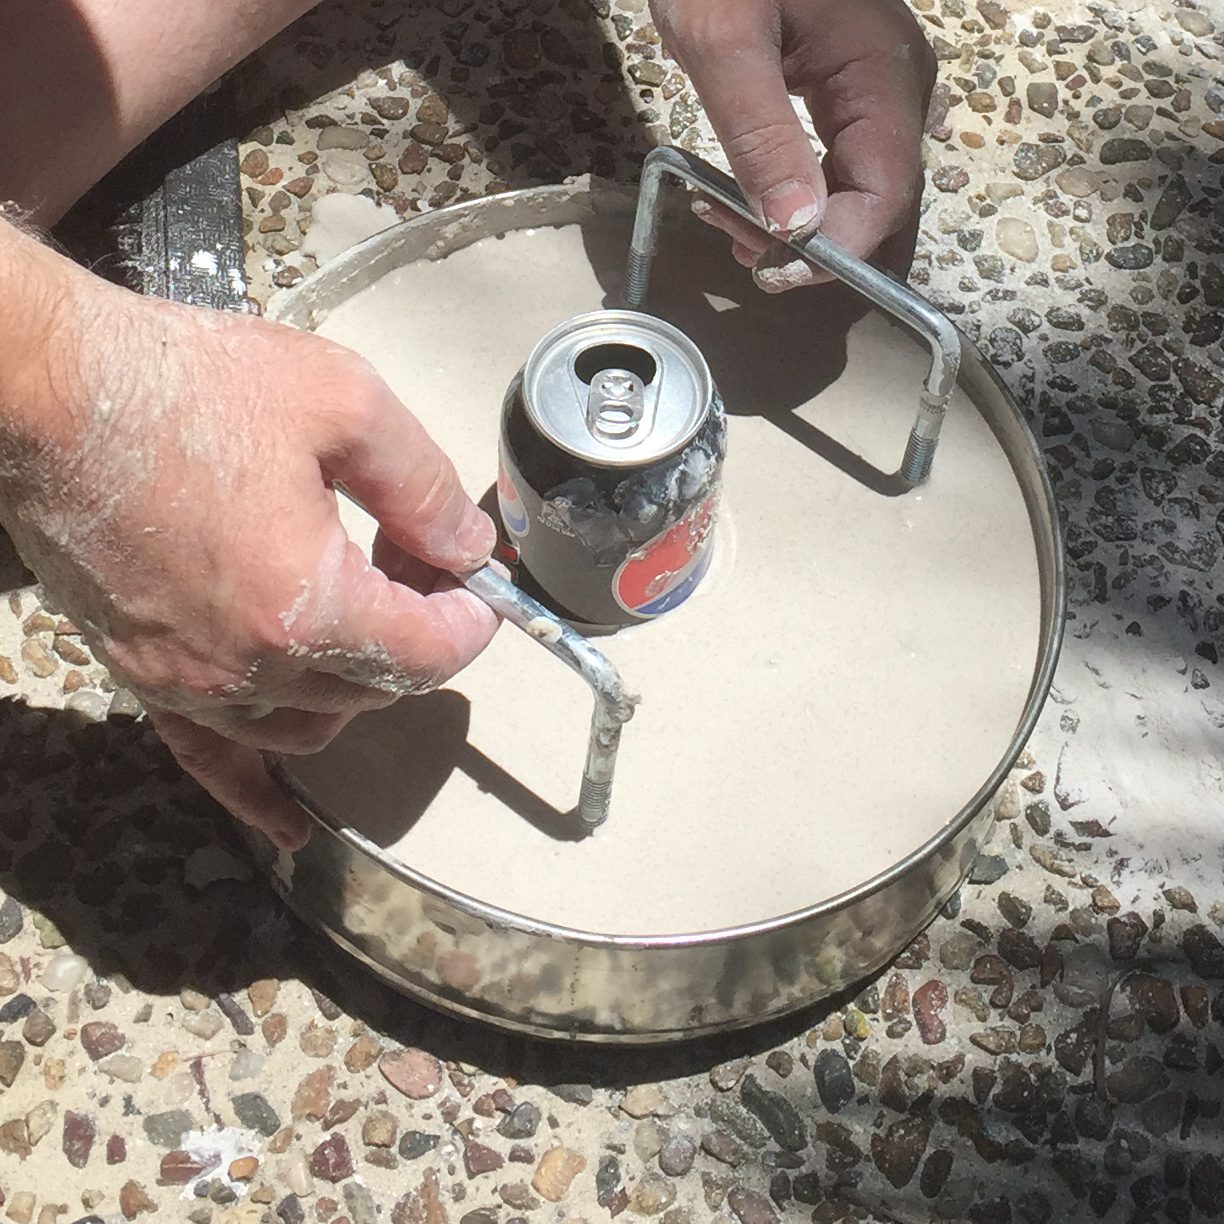
One of the other technical pieces of equipment I needed was something to cast the lid in. I found an old cake tin which comes apart to release the cake after cooking, so this was perfect for casting the lid. I used a soft drink can to keep a hole in the middle as well during casting.
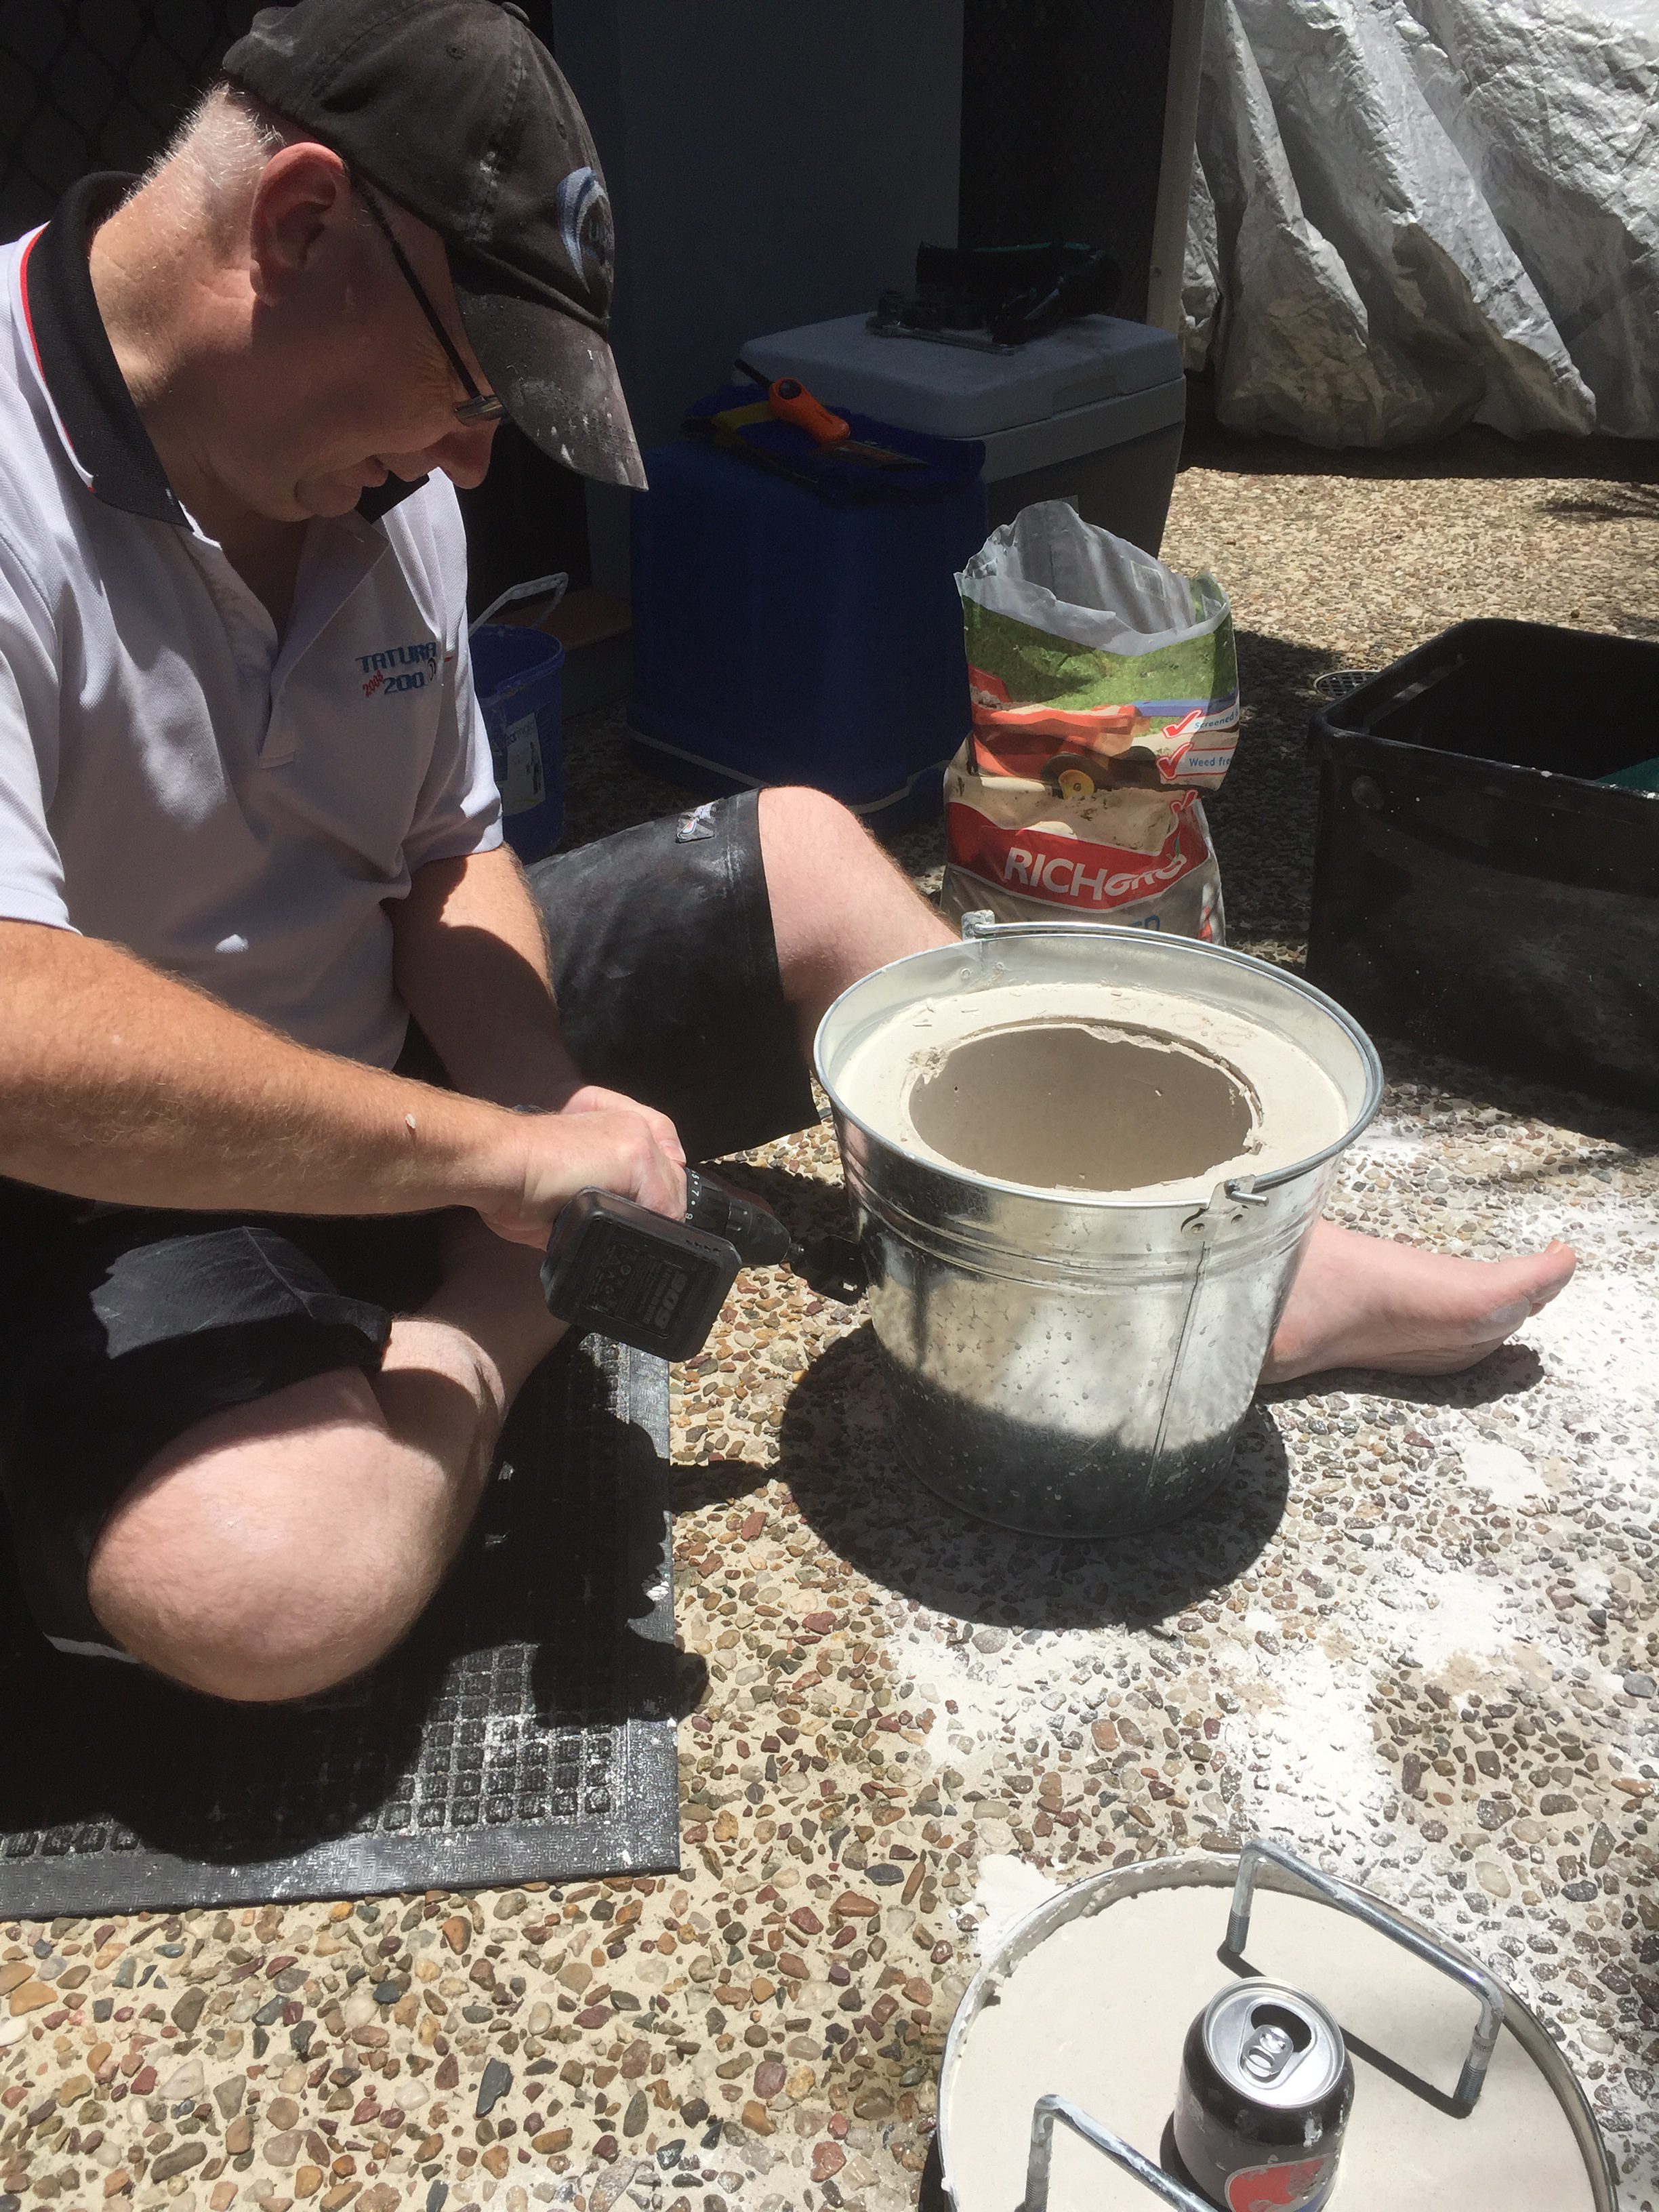
…and yes, that is me on the right with my trusty drill. Not my usual \”making something\” attire, but it was a VERY hot day.

THE FINISHED PRODUCT

